Table of Contents
Old-Fashioned Chocolate Pie: A Timeless Dessert Classic: The Only Recipe You’ll Ever Need
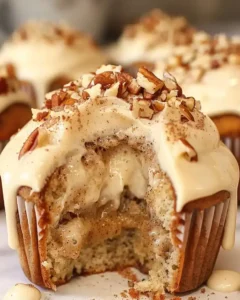
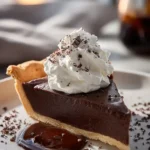
If you’re craving a nostalgic dessert that transports you back to grandma’s kitchen, this old-fashioned chocolate pie recipe is your ultimate solution. With its silky smooth custard filling that sets it apart from ordinary pies, this classic chocolate pie recipe delivers a creamy indulgence that’s hard to resist. Picture a rich, velvety chocolate center nestled in a flaky crust—it’s the perfect treat for family gatherings or a quiet evening. As the top resource on delicetreats.com, we’ve refined this homemade chocolate pie to ensure foolproof results every time, making it easier than ever for home cooks to master.
The allure of this old-fashioned chocolate pie recipe lies in its sensory delights. Imagine the deep, decadent aroma of cocoa wafting through your kitchen as the custard thickens, promising a symphony of flavors. Each bite offers a harmonious blend of smooth, velvety chocolate that melts on your tongue, contrasted by the slight crispness of the pie crust. The richness is perfectly balanced, with just the right sweetness that evokes comforting memories, while the whipped cream topping adds a light, airy finish that enhances the overall texture.
What makes this version of the old-fashioned chocolate pie recipe from delicetreats.com truly special is the Chef’s Secret: a precise cooking technique that creates an ultra-creamy custard without curdling. Drawing from Chef Lalybeth’s expertise, we’ve tested this recipe multiple times to guarantee success, even for beginners. In this comprehensive guide, you’ll learn insider tips, ingredient spotlights, and answers to common questions, empowering you to create a dessert that’s not just delicious but also impressively professional-looking. Dive in and discover why this is the only chocolate pie recipe you’ll ever need.
Why This Old-Fashioned Chocolate Pie: A Timeless Dessert Classic Recipe is a Game-Changer
The Chef’s Secret behind this old-fashioned chocolate pie recipe is the meticulous balance of heat and stirring that produces an ultra-creamy custard filling, setting it apart from typical chocolate pie recipes. By gradually incorporating milk into the dry ingredients and cooking over medium heat, we ensure a smooth, lump-free texture that’s reminiscent of old-school diners but with a modern twist. This technique prevents the common issue of graininess, elevating your homemade chocolate pie to restaurant-quality status.
For unbeatable texture, the science lies in the egg yolks and constant stirring, which emulsify the mixture for that silky smooth consistency. The cocoa powder’s natural starches thicken the filling without overpowering the flavor, creating a custard that’s firm yet melts in your mouth—thanks to the precise temperature control that avoids scorching.
This recipe is foolproof for a reason: it’s been rigorously tested in our kitchens to handle variations in ingredients and equipment, ensuring every home cook achieves perfect results. Whether you’re a novice or a seasoned baker, this classic chocolate pie recipe guarantees a flawless outcome, making it the go-to for reliable, delicious desserts.
Ingredient Spotlight: Quality Makes the Difference
Pie Crust (1 9-inch baked): This forms the foundation of your old-fashioned chocolate pie recipe, providing a buttery, flaky base that contrasts the creamy filling. Using a high-quality, all-butter crust ensures better flavor and texture over store-bought versions. If you’re short on time, opt for a homemade one baked fresh—quality matters as it absorbs less moisture, keeping the pie crisp. A tested substitution is a gluten-free crust mix for those with dietary needs, but blind-bake it longer to maintain structure.
White Sugar (1 1/4 cups): Sugar sweetens the custard in this chocolate pie recipe, balancing the bitterness of cocoa and enhancing the overall richness. Choose organic or cane sugar for a purer taste that doesn’t introduce unwanted aftertastes. Its role is crucial for thickening the mixture, so don’t skimp. A great substitution is coconut sugar for a subtle caramel note, but reduce the amount slightly to avoid overpowering the classic flavor profile of this homemade chocolate pie.
All-Purpose Flour (1/4 cup): Flour acts as a thickener in this old-fashioned chocolate pie recipe, helping create that perfect custard-like consistency without clumps. Opt for unbleached flour for better protein content, which leads to a smoother texture. Quality matters because it affects the pie’s stability—fresh flour prevents a gritty feel. For substitutions, use cornstarch in the same quantity if you’re gluten-free, whisking it thoroughly to maintain the silky smooth result.
Salt (1/4 teaspoon): A small but mighty ingredient, salt in this classic chocolate pie recipe enhances the cocoa’s depth and balances sweetness, making flavors pop. Use fine sea salt for precise seasoning. It plays a key role in the custard by drawing out moisture for even cooking. If needed, substitute with kosher salt, but measure carefully to avoid over-salting, which could dull the nostalgic taste.
Milk (2 cups): Milk provides the creamy base for the filling in this old-fashioned chocolate pie recipe, contributing to its luxurious texture. Whole milk is best for richness, as lower-fat versions can make the pie watery. Quality fresh milk ensures a velvety finish—avoid ultra-pasteurized if possible. A dairy-free substitution like almond milk works well, but use full-fat versions and add a tablespoon of cornstarch to mimic the creaminess.
Egg Yolks (3, beaten): These add richness and help set the custard in this chocolate pie recipe, creating that signature silky smooth mouthfeel. Fresh, large eggs are ideal for the best emulsification. They bind the ingredients without making the pie rubbery. For egg substitutions, see the FAQ section, but aquafaba can replace them in equal measure for a vegan twist while maintaining structure.
Unsweetened Cocoa Powder (1/2 cup): The star of this homemade chocolate pie, cocoa powder delivers intense chocolate flavor and color. Choose high-quality, Dutch-processed cocoa for a deeper taste that doesn’t overwhelm. It thickens the filling naturally, so fresh powder ensures no bitterness. Substitute with melted dark chocolate (adjust for moisture), but it will alter the classic profile—use in the same volume for balance.
Vanilla Extract (1 teaspoon): Vanilla enhances the chocolate notes in this old-fashioned chocolate pie recipe, adding warmth and complexity. Pure extract is essential for authentic flavor, as imitation versions can taste artificial. It rounds out the custard beautifully. If substituting, use vanilla bean paste for a more intense aroma, but stick to the teaspoon measure to preserve the timeless dessert’s essence.
Butter (2 tablespoons): Butter enriches the filling in this classic chocolate pie recipe, providing gloss and a melt-in-your-mouth finish. Unsalted butter allows better flavor control—use high-fat European-style for extra creaminess. It helps emulsify the mixture. A vegan substitute like coconut oil works, but use refined to avoid altering the taste, and melt it gently for similar results.
Whipped Cream (for topping): This light topping adds a fluffy contrast to the rich filling in your old-fashioned chocolate pie recipe. Fresh, homemade whipped cream from heavy cream offers the best texture and taste. It enhances presentation and cuts through the chocolate’s intensity. For a dairy-free option, use coconut whipped cream, sweetened lightly to complement the pie’s nostalgic charm.
Step-by-Step Instructions
Step 1: Combining the Dry Ingredients
In a medium saucepan, whisk together the sugar, flour, salt, and cocoa powder until evenly blended. This ensures a smooth base for your old-fashioned chocolate pie recipe, preventing lumps later.
Pro Tip: Always sift the cocoa powder first to remove any clumps, which guarantees a silky smooth custard filling and enhances the overall texture of this homemade chocolate pie.
Step 2: Gradually Adding the Milk
Slowly stir in the milk to the saucepan mixture, whisking continuously to avoid any dry pockets. This step is crucial for creating a uniform consistency in your classic chocolate pie recipe.
Common Mistake to Avoid: Pouring in the milk too quickly can cause uneven thickening; add it gradually while whisking to prevent a grainy texture that ruins the pie’s creamy appeal.
Step 3: Cooking the Mixture
Cook the mixture over medium heat, stirring constantly with a wooden spoon, until it thickens and begins to boil. This develops the rich, custard-like filling for your old-fashioned chocolate pie recipe.
Pro Tip: Use a heat-resistant spatula to reach the edges of the pan, ensuring even cooking and maximizing the silky smooth quality that makes this chocolate pie recipe stand out.
Step 4: Incorporating the Egg Yolks
Remove the saucepan from heat and quickly stir in the beaten egg yolks, blending them thoroughly into the hot mixture. This step sets the custard without scrambling the eggs.
Common Mistake to Avoid: Adding the yolks while the mixture is still on the heat can cause them to curdle, so always remove it first to maintain the pie’s velvety texture.
Step 5: Final Cooking
Return the saucepan to the heat and cook for another minute, stirring gently. This final cook ensures the filling thickens properly for your homemade chocolate pie.
Pro Tip: Keep the heat low during this step to prevent overcooking, which helps achieve the ultra-creamy consistency that’s the hallmark of this old-fashioned chocolate pie recipe.
Step 6: Adding Flavor Enhancers
Remove from heat once more and stir in the butter and vanilla extract until fully melted and incorporated. This adds the final richness and aroma to your classic chocolate pie recipe.
Common Mistake to Avoid: Over-stirring after adding butter can incorporate air bubbles; stir just until smooth to keep the filling glossy and perfect for serving.
Step 7: Filling and Cooling the Pie
Pour the hot filling into the pre-baked pie crust and let it cool at room temperature before refrigerating. This allows the custard to set properly in your old-fashioned chocolate pie recipe.
Pro Tip: Cover the pie with plastic wrap directly on the surface to prevent a skin from forming, ensuring the silky smooth texture remains intact.
Step 8: Topping and Serving
Once cooled, top the pie with freshly whipped cream just before serving to maintain its light texture. This final touch completes your homemade chocolate pie recipe.
Common Mistake to Avoid: Adding whipped cream too early can make it soggy; wait until serving for the best contrast in this classic chocolate pie.
Serving & Presentation
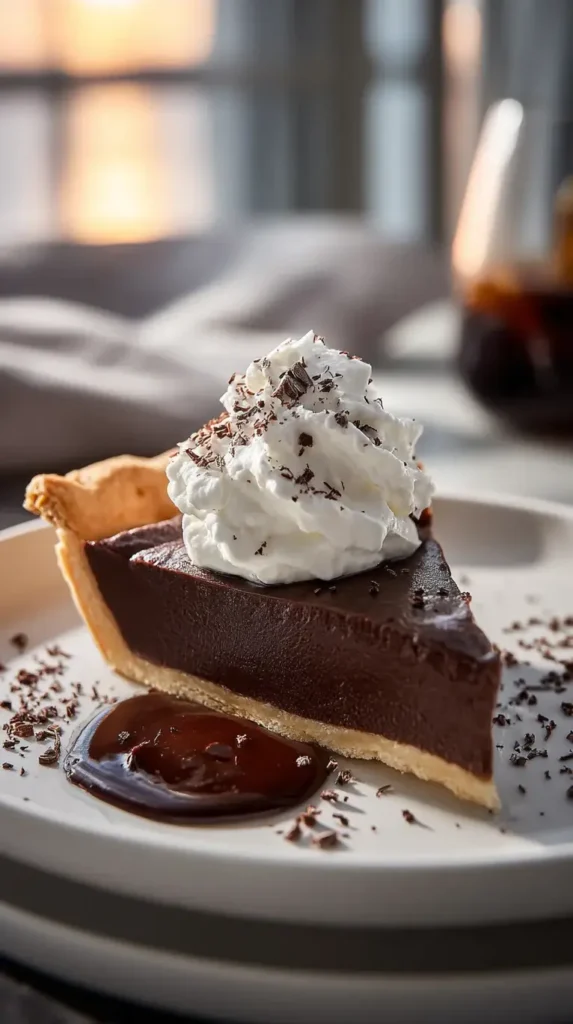
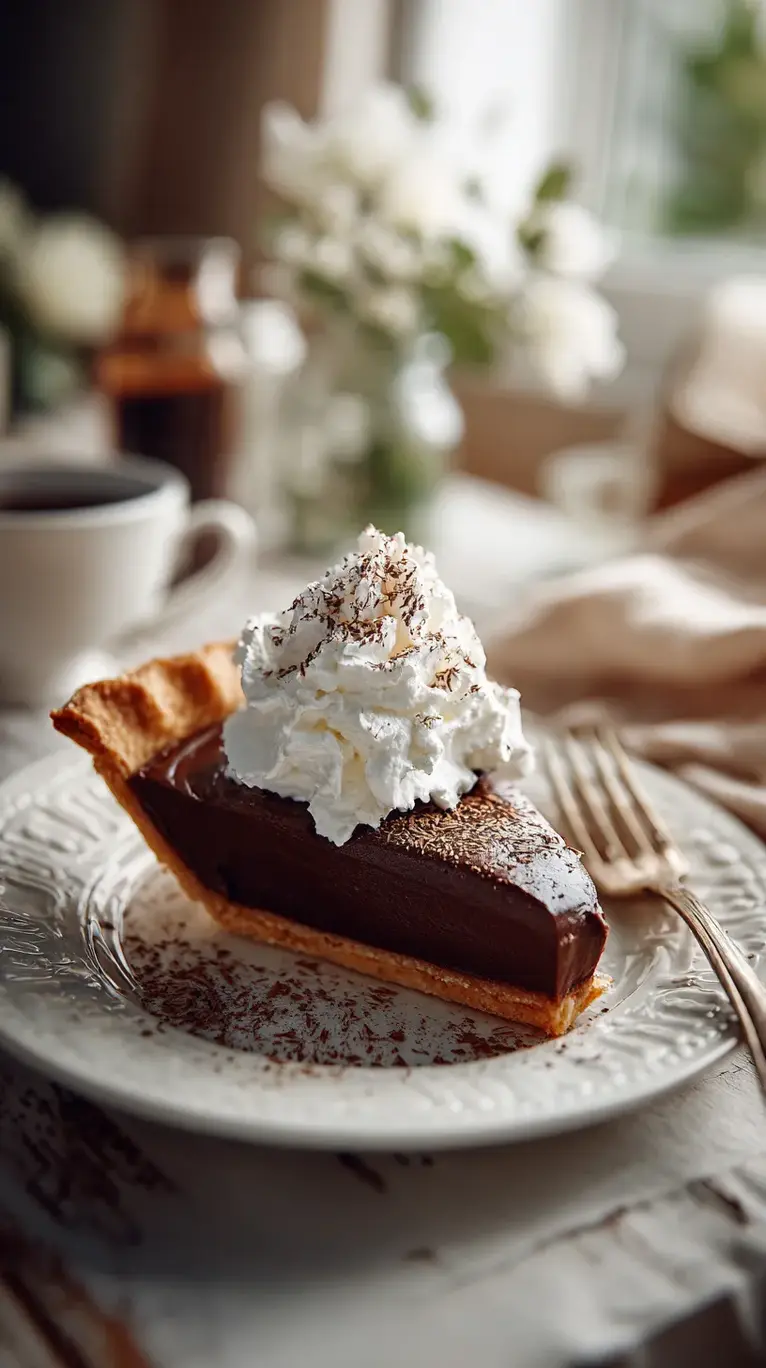
To elevate your old-fashioned chocolate pie recipe, focus on creative plating by slicing it neatly and placing it on a vintage-inspired plate for a nostalgic vibe. Garnish with a dusting of cocoa powder or chocolate shavings for an elegant touch that highlights the silky smooth custard. For the best pairings, serve this homemade chocolate pie alongside a scoop of vanilla ice cream to balance its richness, or pair it with fresh berries to add a tart contrast. It’s a stellar dessert course following a light meal like grilled chicken salad, enhancing any occasion with its timeless appeal.
Make-Ahead & Storage Solutions
For make-ahead strategies, prepare the filling up to 2 days in advance by cooking it as directed, then cooling and storing it in an airtight container in the fridge. Assemble the pie by pouring the chilled filling into the baked crust on the day of serving, allowing at least 4 hours for it to set fully. For storing leftovers, cover the pie tightly with plastic wrap and refrigerate for up to 3 days to maintain freshness; if freezing, wrap individual slices in freezer-safe bags for up to 1 month, as this preserves the silky smooth texture better than freezing the whole pie. The best way to reheat is to thaw frozen slices in the fridge overnight and bring to room temperature for 30 minutes, avoiding the microwave to prevent the custard from weeping and losing its classic appeal.
Frequently Asked Questions (FAQ)
Can I use dark chocolate instead of cocoa powder in old-fashioned chocolate pie?
Yes, you can substitute dark chocolate for cocoa powder in this old-fashioned chocolate pie recipe, but adjustments are needed for the best results. Use about 4 ounces of finely chopped dark chocolate (70% cocoa) melted into the hot milk mixture instead of cocoa powder. This will add a deeper, more intense flavor, enhancing the silky smooth custard. However, dark chocolate contains fat and sugar, so reduce the sugar in the recipe by 1/4 cup to avoid over-sweetening. Always melt it gently to maintain the pie’s classic texture—test a small batch first for balance.
How long does old-fashioned chocolate pie need to chill before serving?
Your old-fashioned chocolate pie recipe requires at least 2-4 hours of chilling in the refrigerator to fully set the custard filling, ensuring that silky smooth texture we love. For optimal results, chill it overnight if possible, as this allows the flavors to meld and makes slicing easier. Avoid rushing this step, as improper setting can lead to a runny pie—cover it loosely to prevent condensation, and serve cold for the best experience.
What substitutions can I make for eggs in old-fashioned chocolate pie?
For egg substitutions in this old-fashioned chocolate pie recipe, you can use alternatives like aquafaba (the liquid from canned chickpeas) or a commercial egg replacer such as flaxseed meal mixed with water. Replace each egg yolk with 1 tablespoon of aquafaba, whisked until frothy, to maintain the custard’s binding and thickening properties. This keeps the pie vegan-friendly while preserving its creamy texture, though you may notice a slight difference in richness—always test the mixture for consistency before pouring.
What toppings are best for serving old-fashioned chocolate pie?
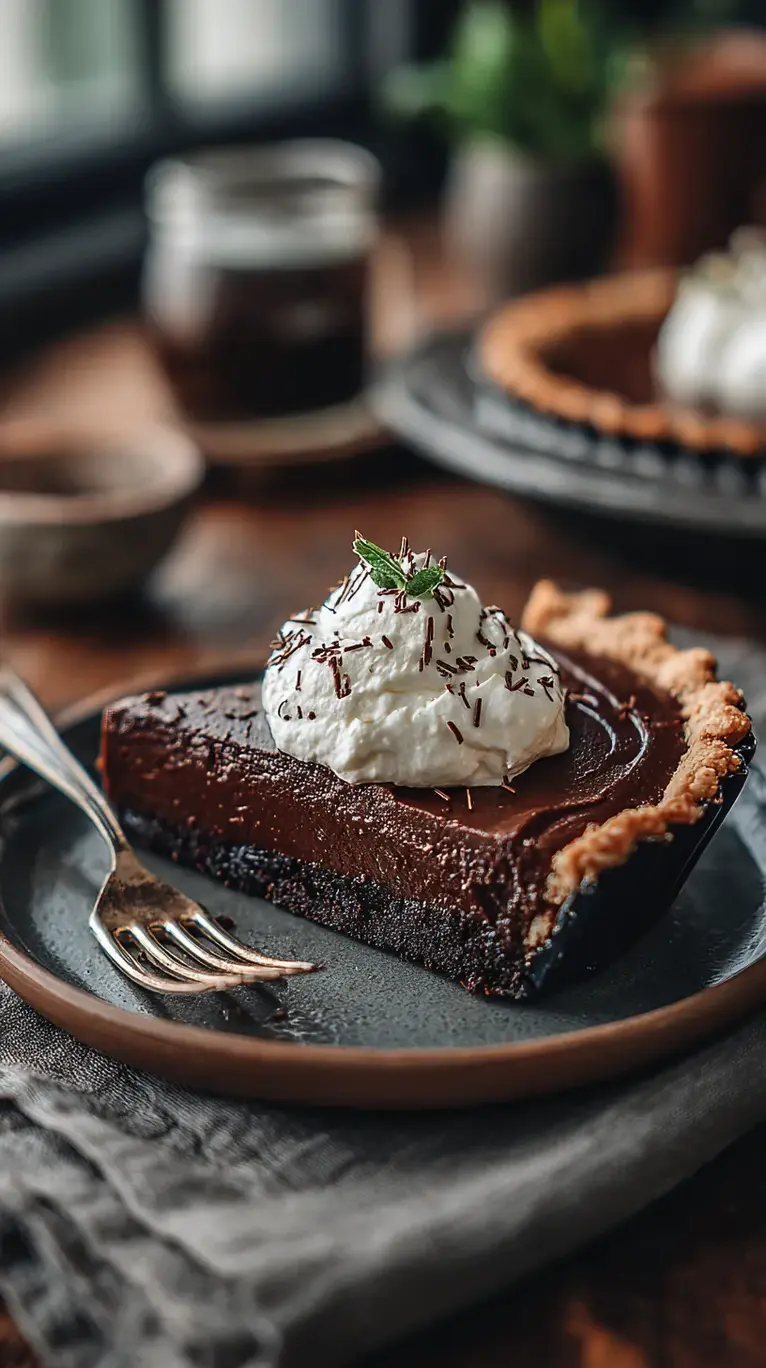
The best toppings for this classic chocolate pie recipe include freshly whipped cream for a light, airy contrast, or chocolate shavings for added indulgence. Fresh fruits like raspberries or strawberries provide a tart balance to the richness, while a sprinkle of sea salt can enhance the flavors. Avoid heavy toppings like nuts, as they might overpower the nostalgic simplicity—stick to minimal garnishes to let the silky smooth filling shine.
Can I make this recipe gluten-free?
Absolutely, you can adapt this old-fashioned chocolate pie recipe for gluten-free needs by swapping the all-purpose flour with a gluten-free alternative like almond flour or a dedicated gluten-free flour blend. Use 1/4 cup of the substitute and add a pinch extra for thickening, as some blends behave differently. Ensure your pie crust is also gluten-free, and the result will still deliver that perfect, creamy chocolate pie experience.
How can I adjust the sweetness in old-fashioned chocolate pie?
To adjust sweetness in this homemade chocolate pie recipe, start by reducing the sugar by 1/4 cup and taste the mixture during cooking. If you’re using a more bitter cocoa powder, you might need less sweetener overall. For a healthier twist, incorporate natural sweeteners like honey, but reduce the liquid slightly to maintain the custard’s texture—experiment in small batches for the best outcome.
Tried This Recipe? Leave a Comment!
Did you make this recipe? I’d love to hear how it turned out! Please leave a comment and a rating below. Your feedback helps other home cooks and supports Delicetreats!
For more delicious inspiration, follow me on Pinterest!
Old-Fashioned Chocolate Pie: A Timeless Dessert Classic
- Total Time: 25 mins
- Yield: 8 1x
Description
A creamy, rich chocolate pie with a classic custard-like filling, topped with whipped cream. This timeless dessert is perfect for any occasion and evokes nostalgic flavors.
Ingredients
- 1 (9 inch) pie crust, baked
- 1 1/4 cups white sugar
- 1/4 cup all-purpose flour
- 1/4 teaspoon salt
- 2 cups milk
- 3 egg yolks, beaten
- 1 teaspoon vanilla extract
- 1/2 cup unsweetened cocoa powder
- 2 tablespoons butter
- Whipped cream, for topping
Instructions
- In a saucepan, combine sugar, flour, salt, and cocoa powder.
- Stir in milk gradually.
- Cook over medium heat, stirring constantly, until mixture thickens and starts to boil.
- Remove from heat and stir in beaten egg yolks.
- Return to heat and cook for another minute.
- Remove from heat again, stir in butter and vanilla.
- Pour into baked pie crust and cool.
- Top with whipped cream before serving.
Notes
Ensure the filling cools completely to set properly. For a crispier crust, bake it yourself instead of using pre-baked.
- Prep Time: 15 mins
- Cook Time: 10 mins
- Method: Dessert
- Cuisine: American
Nutrition
- Calories: 350
- Sugar: 35g
- Fat: 15g
- Carbohydrates: 50g
- Protein: 6g