Table of Contents
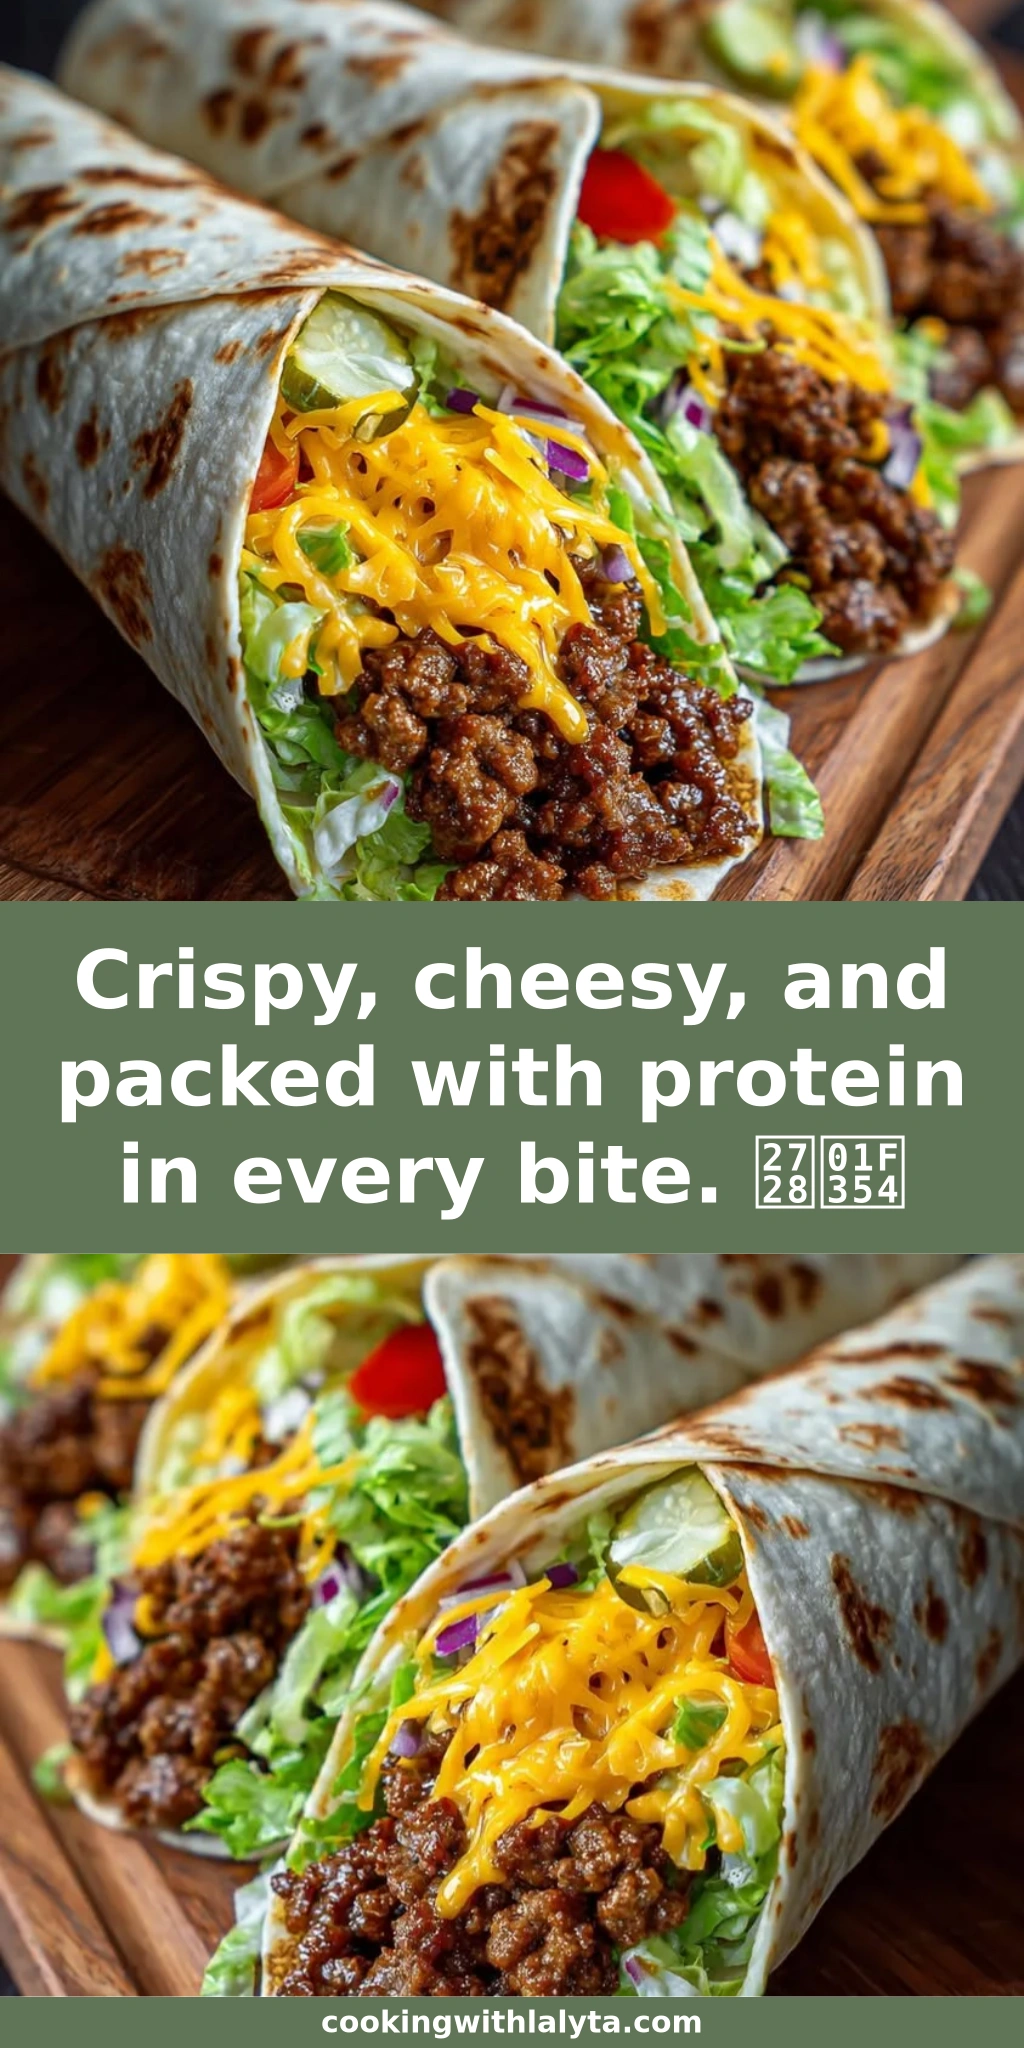
Crispy, Cheesy, and Packed with Protein in Every Bite. ✨🍔 – The Ultimate High-Protein Weeknight Hero
I’ll never forget the first time I tasted a truly crispy-on-the-outside, juicy-on-the-inside burger in a tiny Parisian bistro just off Rue Mouffetard. It was a lesson in texture that stayed with me through culinary school and all the way to my tiny NYC kitchen. Now, after years of experimenting, I’ve channeled that memory into these crispy cheesy protein burger recipe marvels. They’re everything you crave—golden, crunchy coating giving way to a molten cheese center, and over 35 grams of protein per patty! Whether you’re powering through a busy Manhattan afternoon or meal-prepping for the week, this high protein burger will become your new go-to. Even better, I’ve kept it gluten-free and easily dairy-free without sacrificing any flavor.
Picture this: you bite into a perfectly seared patty and hear that satisfying crunch, then the savory aroma of smoked paprika and garlic hits you, followed by oozy melted cheddar and sharp Parmesan woven right into the tender ground chicken. The crust, made with crushed pork rinds, brings a deeply savory, almost nutty crispness that no breadcrumb can match. It’s the kind of dish that feels indulgent yet secretly fuels your day — exactly what we all need in a cheesy crispy burger. I love the way the mild poultry absorbs the spices, and the almond flour keeps everything together without drying out. Each bite is a little symphony of crunch, salt, and umami.
What makes this protein packed burger truly stand out is the chef’s technique I borrowed from my Paris days: double-cheesing the mixture and using a light, high-smoke-point oil to achieve that deep golden crust without overcooking. I’ll walk you through my foolproof method so you never end up with a sad, soggy patty. You’ll learn why chilling the mixture is the secret to melt-free success, how to avoid the number one mistake that makes burgers fall apart, and a make-ahead tip that saves you on a busy weeknight. Ready to make a healthy burger recipe that tastes like a splurge? Let’s get cooking.
Why This Crispy Cheesy Protein Burger Recipe Is the Best
The Flavor Secret: Growing up in Morocco, my mother always layered spices in a way that you couldn’t quite identify every note, but the result was hauntingly delicious. I’ve applied that same philosophy here: smoked paprika dances with garlic and onion powder, while the dual cheeses bring a tangy, salty depth that permeates the lean chicken. No bland diet food here — each patty is packed with personality. And because I grate the Parmesan super fine, it almost melts into the meat, creating pockets of savory intensity as the burger cooks.
Perfected Texture: The real magic is in the crunch. Instead of regular breadcrumbs, I use crushed pork rinds (or gluten-free panko) mixed with additional Parmesan. This coating fries up unbelievably crisp and golden, yet stays light and never greasy. In Paris, we learned that the key to a delicate crust is a thin, even coat and a hot pan — that way the outside sears instantly while the inside gently steams. The almond flour in the patty itself absorbs excess moisture without toughening the meat, so you get a moist, tender bite every time.
Foolproof & Fast: From start to finish, you’re looking at just 25 minutes. That’s faster than delivery, and infinitely more satisfying. I’ve made these countless times in my NYC kitchen, often after a long day when I need something that feels both nourishing and indulgent. The recipe is practically bulletproof: the ingredients are simple, the steps are straightforward, and I’ve included every troubleshooting tip you’ll need. Whether you’re a seasoned home cook or a complete beginner, you’ll nail these crispy cheesy protein burger recipe patties on your first try.
Crispy Cheesy Protein Burger Ingredients
I source my ground chicken from the Union Square Greenmarket whenever I can — the freshness makes a noticeable difference. The cheese counter at Murray’s on Bleecker is my go-to for a sharp, aged cheddar that melts like a dream. If you’re dairy-free, don’t worry; I’ve included swaps that still deliver that creamy, savory note. Everything else is likely already in your pantry. Let’s break down what you need and why.
Ingredients List
- For the patties:
- 1 lb ground chicken or turkey
- 1/2 cup shredded cheddar cheese (dairy-free optional)
- 1/4 cup finely grated Parmesan cheese
- 1/4 cup almond flour
- 1 large egg
- 1 tsp garlic powder
- 1 tsp onion powder
- 1/2 tsp smoked paprika
- Salt and pepper to taste
- For coating:
- 1/2 cup crushed pork rinds (or gluten-free panko)
- 1/4 cup Parmesan cheese
- For cooking:
- 2 tbsp olive oil or avocado oil
Ingredient Spotlight
Ground Chicken (or Turkey): Lean ground poultry is the protein powerhouse here. I prefer chicken thighs for their slightly higher fat content that keeps the patty juicy, but breast works beautifully too. When shopping, look for meat that’s pinkish and firm, with no off odors. If you can’t find ground chicken, ground turkey is an equal swap, though it can be a touch drier — just add a teaspoon of olive oil to the mixture. In a pinch, lean ground beef works, but it will change the flavor profile and increase the fat count.
Shredded Cheddar & Parmesan Duo: Using both cheeses is my secret for that oozy, cheesy bite. Cheddar melts into stretchy ribbons, while grated Parmesan adds a salty, nutty sharpness that also crisps up beautifully in the crust. For a dairy-free version, I’ve tested it with dairy-free cheddar shreds and nutritional yeast in place of Parmesan — the texture is slightly less gooey, but the flavor is spot on. Always grate your own Parmesan; pre-shredded varieties often contain anti-caking agents that prevent smooth melting.
Crushed Pork Rinds: These zero-carb crunchy bits create an unparalleled crust that’s even crispier than panko. They’re my secret for that “fried chicken” vibe without any gluten. If you don’t have pork rinds, gluten-free panko works perfectly; the coating will be a little more tender but still golden. You can crush them in a food processor or a sealed bag with a rolling pin until they’re the texture of coarse sand.
| Original Ingredient | Best Substitution | Flavor / Texture Impact |
|---|---|---|
| Ground chicken | Ground turkey or lean beef | Turkey is slightly drier; beef adds richness and more fat. |
| Cheddar cheese | Dairy-free cheddar shreds | Melts less but still creamy; slightly milder. |
| Parmesan cheese | Nutritional yeast | Nutty, cheesy flavor without dairy; no melt factor. |
| Almond flour | Coconut flour (use 1 Tbsp) or oat flour | Coconut flour absorbs more liquid; oat flour adds whole grain flavor. |
| Pork rinds | Gluten-free panko | Less crispy but still crunchy; milder pork-free taste. |
| Egg | Flax egg (1 Tbsp flaxseed meal + 3 Tbsp water) | Slightly less binding; add an extra minute to cook time. |
How to Make Crispy Cheesy Protein Burger — Step-by-Step
Don’t let the crispy crust intimidate you — I promise this method is a breeze. With just a few key tips, you’ll be flipping perfect patties in no time. Follow these steps and you’ll have a restaurant-worthy burger on your table faster than you can say “bon appétit.”
Step 1: Mix the Patty Mixture
In a large bowl, combine the ground chicken (or turkey), shredded cheddar, finely grated Parmesan, almond flour, egg, garlic powder, onion powder, smoked paprika, and a generous pinch each of salt and pepper. Use your hands or a fork to gently mix everything together until just evenly combined — overworking the meat can make it tough. You should see flecks of cheese and spice throughout.
⚠️ Common Mistake to Avoid: Overmixing is the enemy of a tender patty. As soon as the ingredients are distributed, stop. If you keep mashing, the proteins bind too tightly and the burger becomes dense and dry.
Step 2: Shape the Patties
Divide the mixture into 4 equal portions. Wet your hands slightly to prevent sticking, then flatten each into a patty about ½ inch thick and just slightly wider than your buns — they’ll shrink a bit as they cook. Make a small indentation in the center of each patty with your thumb; this keeps them from puffing up and ensures even cooking. Place them on a parchment-lined plate.
💡 Lalybeth’s Pro Tip: Pop the shaped patties into the fridge for 10 minutes while you prep the coating. Chilling firms up the cheese and fat, which prevents the patty from melting and leaking while it fries — that means a crispier crust and juicier interior.
Step 3: Prepare the Coating
In a shallow dish or pie plate, combine the crushed pork rinds (or gluten-free panko) and the remaining ¼ cup Parmesan. Stir well so the Parmesan is evenly distributed. This is your flavor-packed crust station.
Step 4: Coat the Patties
Take each chilled patty and press it gently into the coating mixture, coating all sides evenly. Use your fingers to pat the crumb coating firmly onto the surface; it should stick nicely. Don’t be afraid to give it a little extra press — the crust is what delivers that shattering crunch. Shake off any excess, then set the coated patty back on the parchment.
💡 Lalybeth’s Pro Tip: For an ultra-crispy shell, double-coat! Dip the patty in a lightly beaten egg white, then back into the crumb mixture. This creates an extra thick layer of crunch that’s reminiscent of a schnitzel — totally irresistible.
Step 5: Pan-Fry to Perfection
Heat 2 tablespoons of olive oil or avocado oil in a large nonstick or cast-iron skillet over medium heat. Wait until the oil is shimmering but not smoking — a tiny pinch of crumbs should sizzle immediately. Gently place the patties into the pan, leaving space between them (cook in batches if needed). Fry for 4–5 minutes on the first side, until the crust is deeply golden brown and you can see the edges turning opaque. Flip carefully with a spatula and cook another 4–5 minutes on the second side, or until the internal temperature reaches 165°F on an instant-read thermometer. Transfer to a wire rack (not paper towels, which create steam) to keep them crunchy.
⚠️ Common Mistake to Avoid: Crowding the pan drops the oil temperature and steams the patties instead of searing them. Give them room! If you need to fry in batches, keep the first batch warm in a 200°F oven on that wire rack.
Step 6: Serve and Enjoy
Serve the crispy, cheesy protein patties immediately on lettuce wraps, toasted buns, or even on their own with a side salad. Top with your favorites: sliced tomato, avocado, pickled onions, or a dollop of spicy mayo. The crunch is at its peak right after cooking, so gather everyone to the table as soon as they’re ready.
| Step | Action | Duration | Key Visual Cue |
|---|---|---|---|
| 1 | Mix ingredients | 3 min | Evenly colored mixture |
| 2 | Shape patties | 4 min | Slightly wider than bun |
| 3 | Prep coating | 2 min | Coarse crumb mixture |
| 4 | Coat patties | 3 min | Completely covered |
| 5 | Pan-fry | 10 min | Golden brown crust, 165°F internal |
| 6 | Serve | — | Immediately for maximum crunch |
Serving & Presentation
In my kitchen, burgers are a blank canvas for creativity. I love setting up a build-your-own bar with colorful toppings — it reminds me of the vibrant market stalls in Marrakech where everyone piles on mezze. For a low-carb option, butter lettuce leaves make a fantastic wrap that stays crisp and contrasts nicely with the hot patty. A smear of harissa mayo (my Moroccan nod) adds a gentle heat that complements the smoky paprika beautifully.
For a more classic American-style burger bar, offer toasted brioche buns, sharp pickles, sliced red onion, beefsteak tomatoes, and a tangy yogurt-dill sauce. The creamy, cool elements balance the salty, cheesy crust. If you’re feeling fancy, go Parisian with a side of lightly dressed arugula and a drizzle of truffle aioli — it elevates the humble burger to something you’d serve at a dinner party. I’ve even plated these patties over a warm lentil salad for a protein bowl that feels both nourishing and luxurious.
| Pairing Type | Suggestions | Why It Works |
|---|---|---|
| Side Dish | Roasted sweet potato wedges, cucumber-tomato salad, coleslaw | Sweet or tangy sides cut through the richness and add freshness. |
| Sauce / Dip | Sriracha yogurt, garlic aioli, honey mustard | Creamy sauces balance the crisp crust and bring extra moisture. |
| Beverage | Iced green tea, sparkling water with lemon, light pale ale | Crisp drinks cleanse the palate without overpowering the cheese. |
| Garnish | Pickled red onions, microgreens, fresh dill | Bright, acidic, or herbal notes lift the whole plate. |
Make-Ahead, Storage & Reheating
Between recipe testing, family meals, and my NYC commute, make-ahead magic is non-negotiable in my kitchen. These patties are perfect for meal prep. You can shape and coat them up to a day in advance, then fry straight from the fridge for a near-instant dinner. I often double the batch and freeze half — just be sure to layer parchment between patties so they don’t stick together. Here’s exactly how I store and reheat them to maintain that precious crunch.
| Method | Container | Duration | Reheating Tip |
|---|---|---|---|
| Refrigerator | Airtight container, separated by parchment paper | Up to 3 days | Reheat in a 375°F oven for 6–8 minutes until hot and re-crisped. |
| Freezer | Wrap individually in plastic, then place in a freezer bag | Up to 3 months | Thaw overnight in the fridge, then pan-fry or bake until 165°F. |
| Make-Ahead | Shape & coat, refrigerate on a parchment-lined tray, covered | Up to 24 hours in advance | Fry directly from the fridge — no need to bring to room temp. |
For the best crunch when reheating, skip the microwave entirely — it will steam the crust and turn it soggy. Instead, use a toaster oven or conventional oven at 375°F. If you’re in a hurry, a dry nonstick skillet over medium-low heat works wonders; just flip a few times until the coating crackles again. I’ve even reheated these in an air fryer at 350°F for 3–4 minutes, and they came out almost as crispy as freshly fried.
Variations & Easy Swaps
| Variation | Key Change | Best For | Difficulty Impact |
|---|---|---|---|
| Spicy Harissa Burger | Add 2 tsp of harissa paste to the patty mixture | Those who love North African heat | No change — still easy |
| Dairy-Free & No-Flavor-Lost | Use dairy-free cheddar + 2 Tbsp nutritional yeast + 1 tsp apple cider vinegar | Dairy sensitivities or vegan-adjacent meals | Same steps, just ingredient swap |
| Mediterranean Twist | Swap cheddar for crumbled feta, add chopped sun-dried tomatoes and oregano | Summer cookouts with a Greek vibe | Feta is saltier; reduce added salt slightly |
Spicy Harissa Burger
This variation takes me right back to my mother’s kitchen, where harissa was a staple. Mix 2 teaspoons of mild or spicy harissa paste into the meat mixture along with the other seasonings. The result is a deep, smoky warmth that doesn’t overwhelm but lingers beautifully. I love serving these in pita pockets with a cucumber-yogurt sauce and fresh mint — it’s a fusion that feels like a Moroccan souk meeting a NYC food festival. The crust still gets beautifully crisp, and the extra moisture from the harissa keeps the patty extra tender.
Dairy-Free & No-Flavor-Lost
As promised, going dairy-free doesn’t mean giving up that cheesy goodness. I replace the cheddar with a high-quality dairy-free shred (I like the ones made from coconut oil and potato starch) and swap the Parmesan for 2 tablespoons of nutritional yeast plus a teaspoon of apple cider vinegar to mimic the tang. The nutritional yeast brings a savory, almost cheesy depth, and the vinegar brightens the overall flavor. The patty may not ooze as much, but the crust still turns out shatteringly crisp. Bake or pan-fry as directed.
Mediterranean Twist
On a warm summer evening, nothing beats this lighter, brighter version. Replace the cheddar with ½ cup of crumbled feta cheese, add ¼ cup of finely chopped oil-packed sun-dried tomatoes (drained), and a teaspoon of dried oregano. Omit the smoked paprika if you like, or keep it for a hint of smoky contrast. The feta doesn’t melt as much, so you get pops of tangy saltiness throughout. I stumbled on this combo during a visit to the Greek neighborhood in Astoria, and it’s been a hit at my dinner table ever since. Serve with a lemony arugula salad and crusty bread.
Frequently Asked Questions
How do you make a burger patty crispy on the outside without drying it out?
Achieving that golden crunch while keeping the inside juicy is all about technique. First, use a coating that sears quickly—like crushed pork rinds or panko mixed with Parmesan—and always press it firmly onto the patty. Pan-fry in a hot, shimmering oil over medium heat so the crust sets instantly, locking in moisture. Crucially, don’t overcook; use a thermometer and pull the patty right at 165°F. I also recommend chilling the patties before frying to firm up the fat, which prevents the cheese from leaking and steaming the crust. Finally, rest them on a wire rack, not paper towels, to preserve the crunch.
What is the best cheese to use for a cheesy burger that stays melty?
For that perfect pull-apart melt, I swear by a combination of shredded cheddar and finely grated Parmesan. Cheddar has excellent melting properties and a sharp, familiar flavor, while Parmesan adds a nutty, salty depth and helps crisp up the exterior. For an even gooier result, you can use a blend of mozzarella and provolone. If you need dairy-free, look for meltable shreds made with coconut oil and starches; they won’t match dairy cheese exactly, but when paired with nutritional yeast for savory notes, they come remarkably close.
What high-protein ingredients can I add to the burger mixture for extra protein?
This recipe already packs a punch with 35g per patty, but you can boost it even further. Try mixing in 2 tablespoons of unflavored collagen peptides or hemp hearts—they disappear into the mixture without altering taste or texture. Finely chopped cooked bacon (turkey or pork) adds both protein and smoky flavor. You could also substitute half the ground chicken with lean ground bison or venison for an extra-lean, high-protein twist. Just be mindful that leaner meats may need an extra tablespoon of oil or a splash of broth to stay moist.
Can I cook this crispy cheesy burger in an air fryer or on the stovetop?
Absolutely, both work wonderfully. For stovetop, I recommend a cast-iron skillet with a couple tablespoons of high-smoke-point oil; this gives you the ultimate crust control. For an air fryer, preheat to 380°F, spray the coated patties lightly with oil, and cook for about 8–10 minutes, flipping halfway, until 165°F internal. The air fryer yields a slightly drier crust but still very crunchy. You can also bake them in a 400°F oven for 20 minutes, flipping once, which is great for batch cooking. Just remember: no matter the method, don’t crowd the basket or pan to ensure even crisping.
How do I prevent the burger from falling apart while cooking?
The binder is key. The egg and almond flour in this recipe do double duty, but if you find the mixture too wet, add an extra tablespoon of almond flour. Also, avoid flipping the patty too soon—let the crust form fully on the first side before turning. Use a thin, wide spatula and slide it gently under the patty. And chilling the patties before cooking is a game-changer; it solidifies the fat and helps the patty maintain its shape. If they still seem fragile, you can form the patties around a small piece of cold butter, which firms up when chilled and melts during cooking, keeping everything together.
Can I use ground beef instead of chicken or turkey?
Yes, lean ground beef (90/10 or leaner) is a delicious substitute. It will have a beefier flavor and slightly more fat, which can make the patty even juicier. Just be sure to drain any excess grease after cooking if using a fattier blend. The internal temperature for ground beef should still reach 160°F for safety. The crispy coating works beautifully with beef, but note that the overall flavor profile shifts away from the lighter poultry taste. I’d recommend pairing a beef version with sharper cheeses like extra-sharp cheddar or blue cheese crumbles.
Is this recipe keto-friendly and low-carb?
It absolutely is. With only 4g of net carbs per patty, thanks to almond flour and pork rind coating, this burger fits perfectly into a keto or low-carb lifestyle. The crushed pork rinds provide the crunch without any carbs, and the almond flour acts as a binder. Just be sure to use sugar-free condiments and serve it in lettuce wraps or on its own. If you need a dairy-free keto version, follow my dairy-free variation above. This high protein burger truly checks all the boxes for a satisfying, low-carb meal.
What can I use instead of pork rinds for the coating?
Gluten-free panko is the best direct swap and still yields a very crispy crust. If you’re not strictly gluten-free, regular panko works perfectly. For a nutty twist, try crushed almonds or pecans mixed with a little Parmesan. You could also use crushed crispy rice cereal (unsweetened) for a lighter crunch. Each alternative will slightly change the texture: pork rinds are the crispiest and most savory, while panko is a bit more tender and neutral. Choose based on your dietary needs and the flavor profile you prefer.
How can I make this burger spicier?
Spice lovers have plenty of options. Add up to a teaspoon of cayenne pepper or a tablespoon of chopped chipotle in adobo to the meat mixture. You can also mix a dash of hot sauce into the egg before combining. For my harissa variation, 2 teaspoons of harissa paste brings a warm, complex heat that’s truly addicting. If you like heat with crunch, add a pinch of chili flakes to the coating mix. Just taste the raw mixture quickly (a tiny cooked bit) to test the spice level and adjust. Top with jalapeño slices and pepper jack cheese for an extra kick.
Can I double the recipe for meal prep?
Yes, and I highly recommend it! Simply double all ingredients. Shape and coat the extra patties, then place them on a parchment-lined baking sheet and freeze until solid. Once frozen, wrap each patty individually in plastic wrap and then store in a freezer bag. They’ll keep for up to 3 months. When you’re ready to cook, you can either thaw overnight in the fridge or cook from frozen—just add a few extra minutes per side and ensure the internal temp reaches 165°F. This is one of my favorite Sunday prep rituals for a busy week ahead.
Share Your Version!
I get so excited every time I see one of you making my recipes your own. Did you try the spicy harissa twist or maybe go full Mediterranean? Perhaps you discovered a brand of dairy-free cheese that melts like a dream. Whatever path you took, I want to hear about it! Drop a comment below and tell me how it went — your feedback is what fuels this little NYC kitchen.
If you snapped a photo of your crispy, cheesy masterpiece, tag me on Instagram at @cookingwithlalyta or pin it on Pinterest and I’ll be sure to cheer you on. And if you have a moment, leaving a star rating right here on the blog makes a world of difference for other home cooks looking for a healthy burger recipe they can trust. From my NYC kitchen to yours — I hope this recipe brings as much warmth to your table as it does to mine. — Lalybeth 🧡
Love This Recipe? Save It to Pinterest!
If you enjoyed this Crispy, cheesy, and packed with protein burger recipe, don’t let it get lost in your browser tabs! 😄 Pin it now so you can find it again anytime — and explore hundreds more tried-and-tested recipes waiting for you on my Pinterest boards.
👉 Follow Lalybeth on Pinterest @cookingwithlalyta
📌 Pin this recipe · 🔁 Re-pin your favorites · 💬 Tag me when you make it — I love seeing your creations!
Did you try this recipe? Let’s chat!
I’d love to hear how these crispy, cheesy protein burgers turned out for you. Share a tip, a tweak, or just say hi — your stories make my day. Leave a comment below and let’s keep the conversation going. ⭐️
Crispy, cheesy, and packed with protein in every bite. ✨🍔
- Total Time: 25 minutes
- Yield: 4 1x
Description
These crispy, cheesy protein burgers are perfect for a high-protein meal. They are gluten-free and can be made dairy-free if needed.
Ingredients
- For the patties:
- 1 lb ground chicken or turkey
- 1/2 cup shredded cheddar cheese (dairy-free optional)
- 1/4 cup finely grated Parmesan cheese
- 1/4 cup almond flour
- 1 large egg
- 1 tsp garlic powder
- 1 tsp onion powder
- 1/2 tsp smoked paprika
- Salt and pepper to taste
- For coating:
- 1/2 cup crushed pork rinds (or gluten-free panko)
- 1/4 cup Parmesan cheese
- For cooking:
- 2 tbsp olive oil or avocado oil
Instructions
- In a large bowl, combine ground chicken, cheddar cheese, Parmesan, almond flour, egg, garlic powder, onion powder, paprika, salt, and pepper. Mix well.
- Shape the mixture into 4 equal patties.
- In a shallow dish, mix crushed pork rinds and remaining Parmesan cheese.
- Coat each patty in the pork rind mixture, pressing gently to adhere.
- Heat oil in a large skillet over medium heat. Cook patties for 4-5 minutes per side until golden brown and internal temperature reaches 165°F.
- Serve on lettuce wraps or buns with your favorite toppings.
Notes
For a dairy-free version, use dairy-free cheese and omit Parmesan or use nutritional yeast. You can also bake at 400°F for 20 minutes flipping halfway.
- Prep Time: 15 minutes
- Cook Time: 10 minutes
- Method: Main Course
- Cuisine: American
Nutrition
- Calories: 320
- Sugar: 1g
- Fat: 18g
- Carbohydrates: 4g
- Protein: 35g
Tried This Recipe? Leave a Comment!
Did you make this recipe? I’d love to hear how it turned out! Please leave a comment and a rating below. Your feedback helps other home cooks and supports cookingwithlalyta.com!
For more delicious inspiration, follow me on Pinterest!